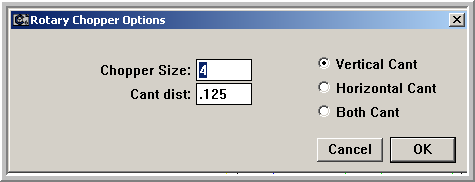
Rules™ rotary chopper functions allow you to choose from several options when creating rotary chopper knives. Choose Rotary Dies → Make Rotary Choppers to start the process. You will see the Rotary Chopper Options dialog as shown below:

The default values for the Chopper Size and Cant Distance can be adjusted in the Prefs.fe file. Accept the default values or change them to suit the job at hand. Pick from Vertical, Horizontal or Both from the canting options buttons and click “OK.”

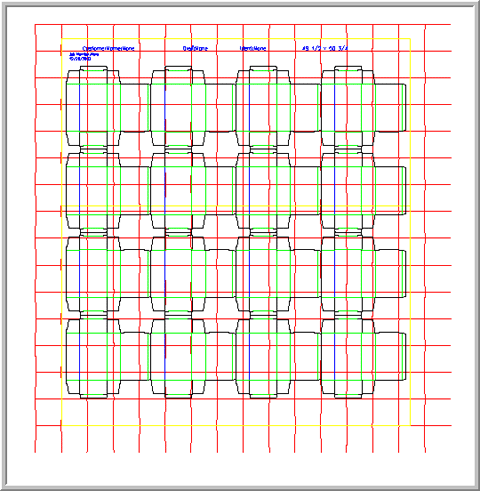
A grid of chopper knives with the attributes you chose will be placed onto the die design. Use the arrow keys on the keyboard to make minor adjustments to the placement of the chopper knife grid. Once you are happy with the placement of the grid, choose Rotary Dies → Trim Rotary Choppers.

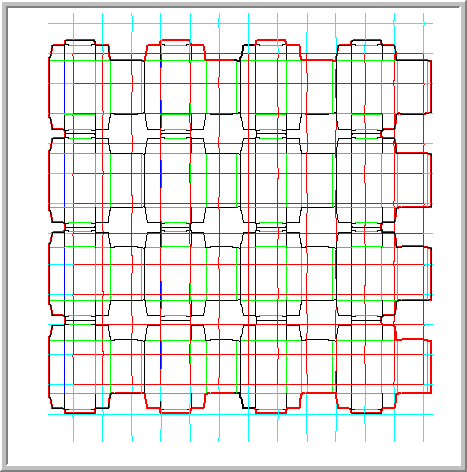
The chopper grid is then trimmed back from the die wood edges and the die line and the remaining grid items are shown together. A thick outline is created to help you trim the unwanted chopper knife pieces out of the area. Rules will select all the rule inside the blank size area of the design as a default set of geometry to delete. Hold the Shift key down and use the Select Tool to deselect any trim on the interior of the design that you want to keep. Press the Delete key on your keyboard when the knives you want to delete are selected. Deselect any remaining selected geometry by clicking away from anything else and then hold the Shift key and “isolate” the “Chopper Bounds” layer. Holding the Shift key while isolating a layer doesn’t hide the other layers, it just selects that layer.